SOIL
Heliconia typically thrive in well-draining soil that is very rich in decaying organic matter, which the Heliconia derive their nutrients from. Garden loam enriched with leaf compost would be ideal, with an addition of a small amount of sand should the soil pack too tightly to prevent proper drainage.
LIGHT
Because Heliconia's grow in bright clearings, it would be good if Heliconia's can be provided with at least 6 hours of direct sunlight a day, as this would encourage continuous flowering. Lower amounts of sunlight would result in the production of lush foliage, with flowers making a less common appearace. Plants would tend to grow taller and larger with less light. Having said that, there are also some species of Heliconia's which enjoy shade. Heliconia pendula and Heliconia stricta 'Carli's Sharonii' are some such examples.
WATERING
Heliconia's love water. They should be watered as often as possible, at least once in the morning and once in the evening. The soil should never be allowed to dry out completely. Rotting of established plants as a result of over-watering is unlikely as long as the soil is free-draining. In fact, some species of Heliconia's can even be adapted to grow completely in water, such as Heliconia standleyi and Heliconia densiflora 'Fireflash'. However, the watering of newly-planted rhizomes is a completely different matter, as they are prone to fungal attacks in excessively water-retentive soil.
FERTILISER
A large Heliconia can consume enormous amounts of fertilizer, and grow to immense proportions. Bonemeal is an ideal choice if one desires to make their Heliconia's reach huge dimensions. However, regular fertilizing with slow-release fertilizer of NPK ratio 13:5:13 works just as well. (In fact, I don't even fertilize my Heliconia's)
MAINTAINENCE
Dead leaves and stems should always be removed. Spent stems should be cut after flowering to maintain the neatness of the colony. Chop the stems as close to the ground as possible. The remaining stumps can be removed by pulling them out of the ground once they have dried up completely. Should the colony produce too many leaves obstructing view of the inflorescences, leaves can be removed from strategic positions so as to show off the Heliconia flowers.

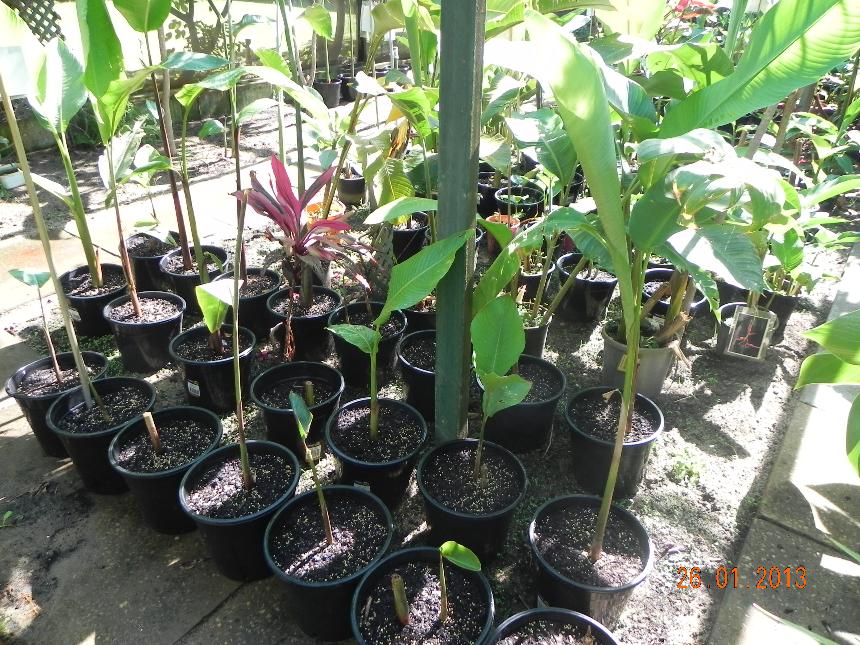
Above: Raising Heliconia from rhizomes.
By rhizomes
If one were to order Heliconia through the internet, they would usually arrive in the form of rhizome segments. Rhizomes should be dipped in dilute fungicide solution before being planted in free-draining soil. Make sure that the rhizome is not planted too deep, but at the same level at which the plant was originally growing in soil, which can be determined by markings on the rhizome itself. A separate school of thought claims that by planting the rhizomes in a 'soil-free' mixture of perlite, vermiculite and sterilized potting compost, the chances of successful sprouting would be increased. After planting, the tip of the stalks where the pseudostems were chopped from should be wrapped in plastic and secured with a rubber band, to make sure that water does not enter it and cause rotting. This also helps to seal moisture within the rhizome.

Above: Seeds of the Heliconia.
By Seed
Heliconia seeds are rather difficult to germinate. They have a rather long germination period ranging from a month to a year, with unpredictable germination rates. Yet, this should not discourage people from growing Heliconia from seed, as many rare species are obtained this way. Seeds should be scarified with sandpaper before planting, because the seed coat is extremely thick. Rubbing parts of the seed coat till the endosperm is just reached would allow water to enter the seed more quickly, thus shortening the germination period.